并发与异步编程(一) -- 实现一个简单线程池
实现一个线程池。
基于C++实现一个线程池。
1. 背景
最近在梳理基础,有些东西平时都在用,但是要是让自己手撸一个简单demo,却发现缺这缺那,比如线程池、内存池、事件通知框架等等。
有时“看了”,觉得“会了”,动手时却发现并不是这样。究其原因,还是理解不到位,要“做会”而不是“看会”。多实践碰到问题后梳理总结,倒推输出。
本篇基于C++实现线程池,并结合 libstdc++ 代码,理解C++中的一些特性功能使用。
一点想法:
- 现在AI工具已经很强大了,cursor/trae 这类智能体和copilot可以直接把 很多优质资源和质量不错的实践经验 传授给你,但接不接受得了、能接受多少,内化多少到自己的技能和思维当中,关键还是要靠实践。用十几年、几十年的工作经验积累起来的东西,借助AI已经可以大大拉低护城墙了,自己的经验何尝不是如此。“技术无用论”/大龄危机?拿出行动力,让技术飞轮滚动起来,不一定有多好的结果,但是祛魅、以及不后悔。
- “纸上得来终觉浅,绝知此事要躬行”
- “Stay hungry, Stay foolish”
- 自勉。
2. 线程池简单实现
需求:基于线程池,实现给定数据求和。
2.1. 基于 C++11 thread
编译:g++ thread_pool.cpp -pthread
-pthread说明:
- g++编译多线程代码建议
-pthread,不仅会链接pthread库,还会定义一些宏来启用线程安全的代码路径,比如_REENTRANT、_GNU_SOURCE - 而
-lpthread仅仅是链接pthead库
std::function函数包装器,可以存储、复制和调用任何可调用对象,包括普通函数、成员函数、函数指针、lambda 表达式和仿函数(函数对象)等。组合lambda函数使用很方便。
要点:工作线程、任务队列、同步机制、结果通知
1
2
3
4
5
6
7
8
9
10
11
12
13
14
15
16
17
18
19
20
21
22
23
24
25
26
27
28
29
30
31
32
33
34
35
36
37
38
39
40
41
42
43
44
45
46
47
48
49
50
51
52
53
54
55
56
57
58
59
60
61
62
63
64
65
66
67
68
69
70
71
72
73
74
75
76
77
78
79
80
81
82
83
84
85
86
87
88
89
90
91
92
93
94
95
96
97
98
99
100
101
102
103
104
105
106
107
108
109
110
111
112
113
114
115
116
117
118
119
120
121
122
123
124
125
126
127
128
129
#include <iostream>
#include <vector>
#include <deque>
#include <thread>
#include <mutex>
#include <condition_variable>
#include <functional>
#include <atomic>
#include <algorithm>

using namespace std;

// TODO 定义和实现暂放在一起,后续分离
class ThreadPool {
private:
    vector<thread> threads;
    deque<std::function<void()>> tasks;
    mutex task_mtx;
    condition_variable task_cond;
    std::atomic<bool> stop_;

public:
    ThreadPool(int num) {
        stop_ = false;
        while (num-- > 0) {
            // 这里 thread_proc 也可以调整为 lambda表达式,并捕获this:[this]{ xxx },实现中建议this->引用成员变量
            threads.emplace_back([this]() { thread_proc(); });
        }
    }

    ~ThreadPool() {
        stop_ = true;
        task_cond.notify_all();
        for(auto &t : threads) {
            t.join();
        }
    }

    // 任务加入线程池
    void enqueue_task(std::function<void()> &&task) {
        {
            unique_lock<mutex> lk(task_mtx);
            // 使用移动语义以调用移动构造
            tasks.emplace_back(std::move(task));
        }
        // 条件变量通知,既可以放在锁内,也可以放在锁外,各有优劣
        // 持锁内通知:确保其他唤醒线程是最新的共享状态;性能方面,释放锁其他线程才能被唤醒
        // 锁外通知:其他线程被唤醒后能更快地获取锁;需要确保释放锁后共享状态不会被意外修改
        // 一般建议将条件变量的通知操作放在锁外,以提高并发性能。
        task_cond.notify_one();
    }

    void stop() {
        stop_ = true;
        task_cond.notify_all();
    }

private:
    // 线程池执行体
    void thread_proc() {
        while(!stop_) {
            // 从任务队列获取任务
            std::function<void()> t;
            {
                unique_lock<mutex> lk(task_mtx);
                task_cond.wait(lk, [this]() { return stop_ || !tasks.empty(); });
                // 外部停止线程池
                if(stop_ && tasks.empty()) {
                    return;
                }
                t = std::move(tasks.front());
                tasks.pop_front();
            }
            // 执行任务
            t();
        }
    }
};

struct Result {
    long long sum;
    std::mutex mtx;
    int task_count;
    // 用于和task_count比较,所有都完成则进行通知
    int task_done_count;
    std::condition_variable cond;
    Result():sum(0), task_count(0), task_done_count(0) {}
};
void task_run(const std::vector<int> &data, int start, int end, Result &result) {
    long long sum = 0;
    for(auto i = start; i < end; i++) {
        sum += data[i];
    }

    lock_guard<mutex> lk(result.mtx);
    result.sum += sum;
    result.task_done_count++;
    printf("start:%d, end:%d, chunk sum:%lld, total:%lld, done count:%d, task:%d\n",
            start, end, sum, result.sum, result.task_done_count, result.task_count);
    if(result.task_done_count == result.task_count) {
        result.cond.notify_one();
    }
}

int main(int argc, char *argv[])
{
    ThreadPool pool(4);
    std::vector<int> data(10000000, 2);
    size_t chunk = data.size() / 8;
    Result result;
    // 记录要执行的任务数
    result.task_count = data.size()/chunk + ((data.size() % chunk == 0) ? 0 : 1);
    for(auto i = 0; i < data.size(); i += chunk) {
        // 循环不变量[start, end)
        int end = std::min(i + chunk, data.size());
        // 引用捕获result,其他按值捕获
        pool.enqueue_task([=, &result]() { task_run(data, i, end, result); });
    }

    {
        // 等待执行完成,通过信号量通知
        unique_lock<mutex> lock(result.mtx);
        // 补充:这里应该增加一个 谓词 来避免虚假唤醒
        // 比如:result.cond.wait(lock, [&result]() { return result.task_done_count == result.task_count; });
        result.cond.wait(lock);
        cout << "result: " << result.sum << endl;
    }
    pool.stop();
}
2.2. 基于 pthread(POSIX线程库)
Linux原生的API相对于现代C++,没有RAII写起来生产效率差不少,而且不够优雅。先不写了。
1、线程创建:pthread_create
如果任务需要多个参数,需要把参数定义在一个类里,通过void *arg传给线程执行函数。(作为对比,std::thread可以支持lambda捕获、也支持构造多参数)
1
2
3
#include <pthread.h>
int pthread_create(pthread_t *thread, const pthread_attr_t *attr,
                          void *(*start_routine) (void *), void *arg);
2、互斥锁:pthread_mutex_t,加锁解锁 pthread_mutex_lock/pthread_mutex_unlock
3、条件变量:pthread_cond_t,等待pthread_cond_wait,通知 pthread_cond_signal/pthread_cond_broadcast
3. 补充:条件变量的虚假唤醒和唤醒丢失问题
针对上述条件变量的 通知(notify_one()/notify_all()) 和 等待(wait()),可能会存在的 虚假唤醒 和 唤醒丢失 问题,做一个说明。
详情可参考:条件变量的虚假唤醒和唤醒丢失问题
3.1. 虚假唤醒
虚假唤醒:对线程进行唤醒时,不希望被唤醒的线程 也被唤醒的现象
虚假唤醒 既可能是操作系统层面导致,也可能是应用层代码导致:
- 内核层面:当调用
notify_one/signal_one等方法时,操作系统并不保证只唤醒一个线程(至少一个) - 应用层导致的虚假唤醒:不正确的代码,比如生产者只生产了一个元素,却
notify_all通知所有消费者线程
3.2. 如何避免虚假唤醒?
通过添加 测试循环 进行避免:
1
2
3
4
5
6
7
8
// 方式1
cv.wait(mtx, []{return flag})

// 方式2
while(!flag)
{
    cv.wait(mtx);
}
所以上面线程池实现里面,虚假唤醒已经通过 lambda 传入的判别式(谓词,Predicate)解决了
1
2
3
4
5
6
7
8
9
10
11
12
13
14
15
16
void thread_proc() {
    while(!stop_) {
        // 从任务队列获取任务
        std::function<void()> t;
        {
            unique_lock<mutex> lk(task_mtx);
            task_cond.wait(lk, [this]() { return stop_ || !tasks.empty(); });
            // 外部停止线程池
            if(stop_ && tasks.empty()) {
                return;
            }
            ...
        }
        ...
    }
}
3.3. 唤醒丢失
唤醒丢失:进行了唤醒,但是对方没收到
具体来说,是指:某个线程在调用notify时,另一个线程还没有进行wait,那么这个线程后面wait时将陷入无限的等待中
3.4. 如何避免唤醒丢失?
也是通过新增标记。同上面避免虚假唤醒的方式1
上面的线程池中,enqueue_task()任务入队后notify_one()没在锁里通知,~ThreadPool()析构也只是通知并不等待,不会有唤醒丢失导致阻塞的情况。
1
2
3
4
5
6
7
    ~ThreadPool() {
        stop_ = true;
        task_cond.notify_all();
        for(auto &t : threads) {
            t.join();
        }
    }
3.5. condition_variable的实现说明
下面小节里查看condition_variable在libstdc++中的定义可以看到其类型为:typedef __gthread_cond_t __native_type;,继续跟踪libgcc可看到,实际是pthread对应的条件变量类型:pthread_cond_t (仅考虑Linux上面)
1
2
// gcc-10.3.0-libstdcpp-v3/libgcc/gthr-posix.h
typedef pthread_cond_t __gthread_cond_t;
看下condition_variable对应notify_one的实现,实际也只是包装了一层pthread_cond_signal,所以不要报希望stdc++做了什么其他手段。
1
2
3
4
5
6
7
8
9
10
11
12
13
14
15
16
17
18
19
20
21
22
23
24
// gcc-10.3.0-libstdcpp-v3/libstdc++-v3/src/c++11/condition_variable.cc
void
condition_variable::notify_one() noexcept
{
int __e = __gthread_cond_signal(&_M_cond);

// XXX not in spec
// EINVAL
if (__e)
    __throw_system_error(__e);
}

// gcc-10.3.0-libstdcpp-v3/libgcc/gthr-posix.h
static inline int
__gthread_cond_signal (__gthread_cond_t *__cond)
{
  return __gthrw_(pthread_cond_signal) (__cond);
}

static inline int
__gthread_cond_wait (__gthread_cond_t *__cond, __gthread_mutex_t *__mutex)
{
  return __gthrw_(pthread_cond_wait) (__cond, __mutex);
}
3.6. man pthread_cond_broadcast 说明
既然condition_variable在linux实际只是包装了pthread_cond_t,看下pthread_cond_broadcast的说明,里面有唤醒相关的说明。
man pthread_cond_broadcast,也可见:man 3 pthread_cond_signal
pthread库之所以允许虚假唤醒,是为了性能上的考虑。pthread库希望应用程序某些时候在进入内核态之前就被唤醒,这样就可以避免进入内核态的开销。
4. 扩展:libstdc++ 说明
gcc-mirror 仓库是 GCC(GNU Compiler Collection)编译器套件的代码库,涵盖了 GCC 编译器套件的多个方面。
从 gcc-10.3.0 分支代码里保留了 libstdc++ ,上传到自己的仓库了:libstdc++ 源码,用于跟踪学习C++标准库的相关内容。
比如condition_variable:
- 定义在:libstdc++-v3/include/std/condition_variable
- 对应的实现则在:libstdc++-v3/src/c++11/condition_variable.cc
1
2
3
4
5
6
7
8
9
10
11
12
13
14
15
16
17
18
19
20
21
  // libstdc++-v3/include/std/condition_variable
  /// condition_variable
  class condition_variable
  {
    using steady_clock = chrono::steady_clock;
    using system_clock = chrono::system_clock;
#ifdef _GLIBCXX_USE_PTHREAD_COND_CLOCKWAIT
    // 控制在使用条件变量(std::condition_variable)时是否使用 POSIX 线程库(pthread)中基于时钟的等待函数。
    // 具体来说,当这个宏被定义时,libstdc++ 会使用 pthread_cond_timedwait 或 pthread_cond_clockwait(如果系统支持的话)来实现条件变量的定时等待功能
    using __clock_t = steady_clock;
#else
    using __clock_t = system_clock;
#endif
    // __gthread_cond_t 是 GNU C++ 库(libstdc++)中用于线程同步的底层条件变量类型,
    // 它是对 POSIX 线程库(pthread)中条件变量的封装,为 C++ 标准库中的 std::condition_variable 提供了底层实现支持。
    typedef __gthread_cond_t    __native_type;
    ...
  public:
    typedef __native_type*  native_handle_type;
    ...
  }
通过copilot(GitHub Copilot 或者 其他平替如CodeGeeX)辅助读源码助力很大:
4.1. emplace_back 原位构造
C++11起vector、deque/queue/priority_queue、list 等就支持通过emplace_back方法在容器尾部原位(in-place)构造元素,避免push_back要构造临时对象再进行复制或者移动。
声明如下,通过参数而不是类对象来构造新对象,参数列表则通过std::forward完美转发给emplace_back方法:
1
2
template< class... Args >
void emplace_back( Args&&... args );
The element is constructed through
std::allocator_traits::construct, which typically usesplacement-newto construct the element in-place at the location provided by the container. The argumentsargs...are forwarded to the constructor asstd::forward<Args>(args)…
参见 cppreference vector emplace_back)
可以看下vector对应实现代码进行印证:
1
2
3
4
5
6
7
8
9
10
11
12
13
14
15
16
17
18
19
    // libstdc++-v3/include/bits/vector.tcc
      vector<_Tp, _Alloc>::
      emplace_back(_Args&&... __args)
      {
    if (this->_M_impl._M_finish != this->_M_impl._M_end_of_storage)
      {
        _GLIBCXX_ASAN_ANNOTATE_GROW(1);
        _Alloc_traits::construct(this->_M_impl, this->_M_impl._M_finish,
                     std::forward<_Args>(__args)...);
        ++this->_M_impl._M_finish;
        _GLIBCXX_ASAN_ANNOTATE_GREW(1);
      }
    else
      _M_realloc_insert(end(), std::forward<_Args>(__args)...);
#if __cplusplus > 201402L
    return back();
#endif
      }
#endif
4.2. vector push_back/emplace_back 扩容规则
跟踪下vector的扩容规则,可以看到C++11后,push_back右值的话,自动就使用emplace_back了。
说明:libstdc++代码里缩进有的是空格,有的是tab,影响阅读体验。tab是8位空格,自己本地可以tab转8空格,阅读起来舒服很多。
1
2
3
4
5
6
7
8
9
10
11
12
13
14
15
16
17
18
19
20
21
22
23
24
25
26
27
28
29
30
// libstdc++-v3/include/bits/stl_vector.h
      void
      push_back(const value_type& __x)
      {
        if (this->_M_impl._M_finish != this->_M_impl._M_end_of_storage)
          {
            _GLIBCXX_ASAN_ANNOTATE_GROW(1);
            _Alloc_traits::construct(this->_M_impl, this->_M_impl._M_finish,
                                     __x);
            ++this->_M_impl._M_finish;
            _GLIBCXX_ASAN_ANNOTATE_GREW(1);
          }
        else
          _M_realloc_insert(end(), __x);
      }

#if __cplusplus >= 201103L
      void
      push_back(value_type&& __x)
      { emplace_back(std::move(__x)); }

      template<typename... _Args>
// 这里的条件编译,确定emplace_back返回值类型,C++14的声明为:reference emplace_back( Args&&... args );
#if __cplusplus > 201402L
        reference
#else
        void
#endif
        emplace_back(_Args&&... __args);
#endif
跟踪下emplace_back逻辑,简化如下:
1
2
3
4
5
6
7
8
9
10
11
12
13
14
15
16
17
18
19
20
21
22
23
// libstdc++-v3/include/bits/vector.tcc
template<typename _Tp, typename _Alloc>
  template<typename... _Args>
void vector<_Tp, _Alloc>::emplace_back(_Args&&... __args)
{
    if vector里空间足够预分配新成员 {
        _Alloc_traits::construct 进行构造
    } else {
        通过 _M_realloc_insert 进行扩容,并构造插入新元素
    }
}

// libstdc++-v3/include/bits/vector.tcc
template<typename _Tp, typename _Alloc>
void vector<_Tp, _Alloc>::_M_realloc_insert(iterator __position, const _Tp& __x)
{
    // 通过 _M_check_len 计算新的容量大小
    // 声明为: size_type _M_check_len(size_type __n, const char* __s) const;
    // n 为要插入元素的个数,s 为错误信息,即此处要插入1个元素
    const size_type __len =
    _M_check_len(size_type(1), "vector::_M_realloc_insert");
    ...
}
扩容后的长度计算在 _M_check_len 中:
1
2
3
4
5
6
7
8
9
10
11
// libstdc++-v3/include/bits/stl_vector.h
size_type _M_check_len(size_type __n, const char* __s) const
{
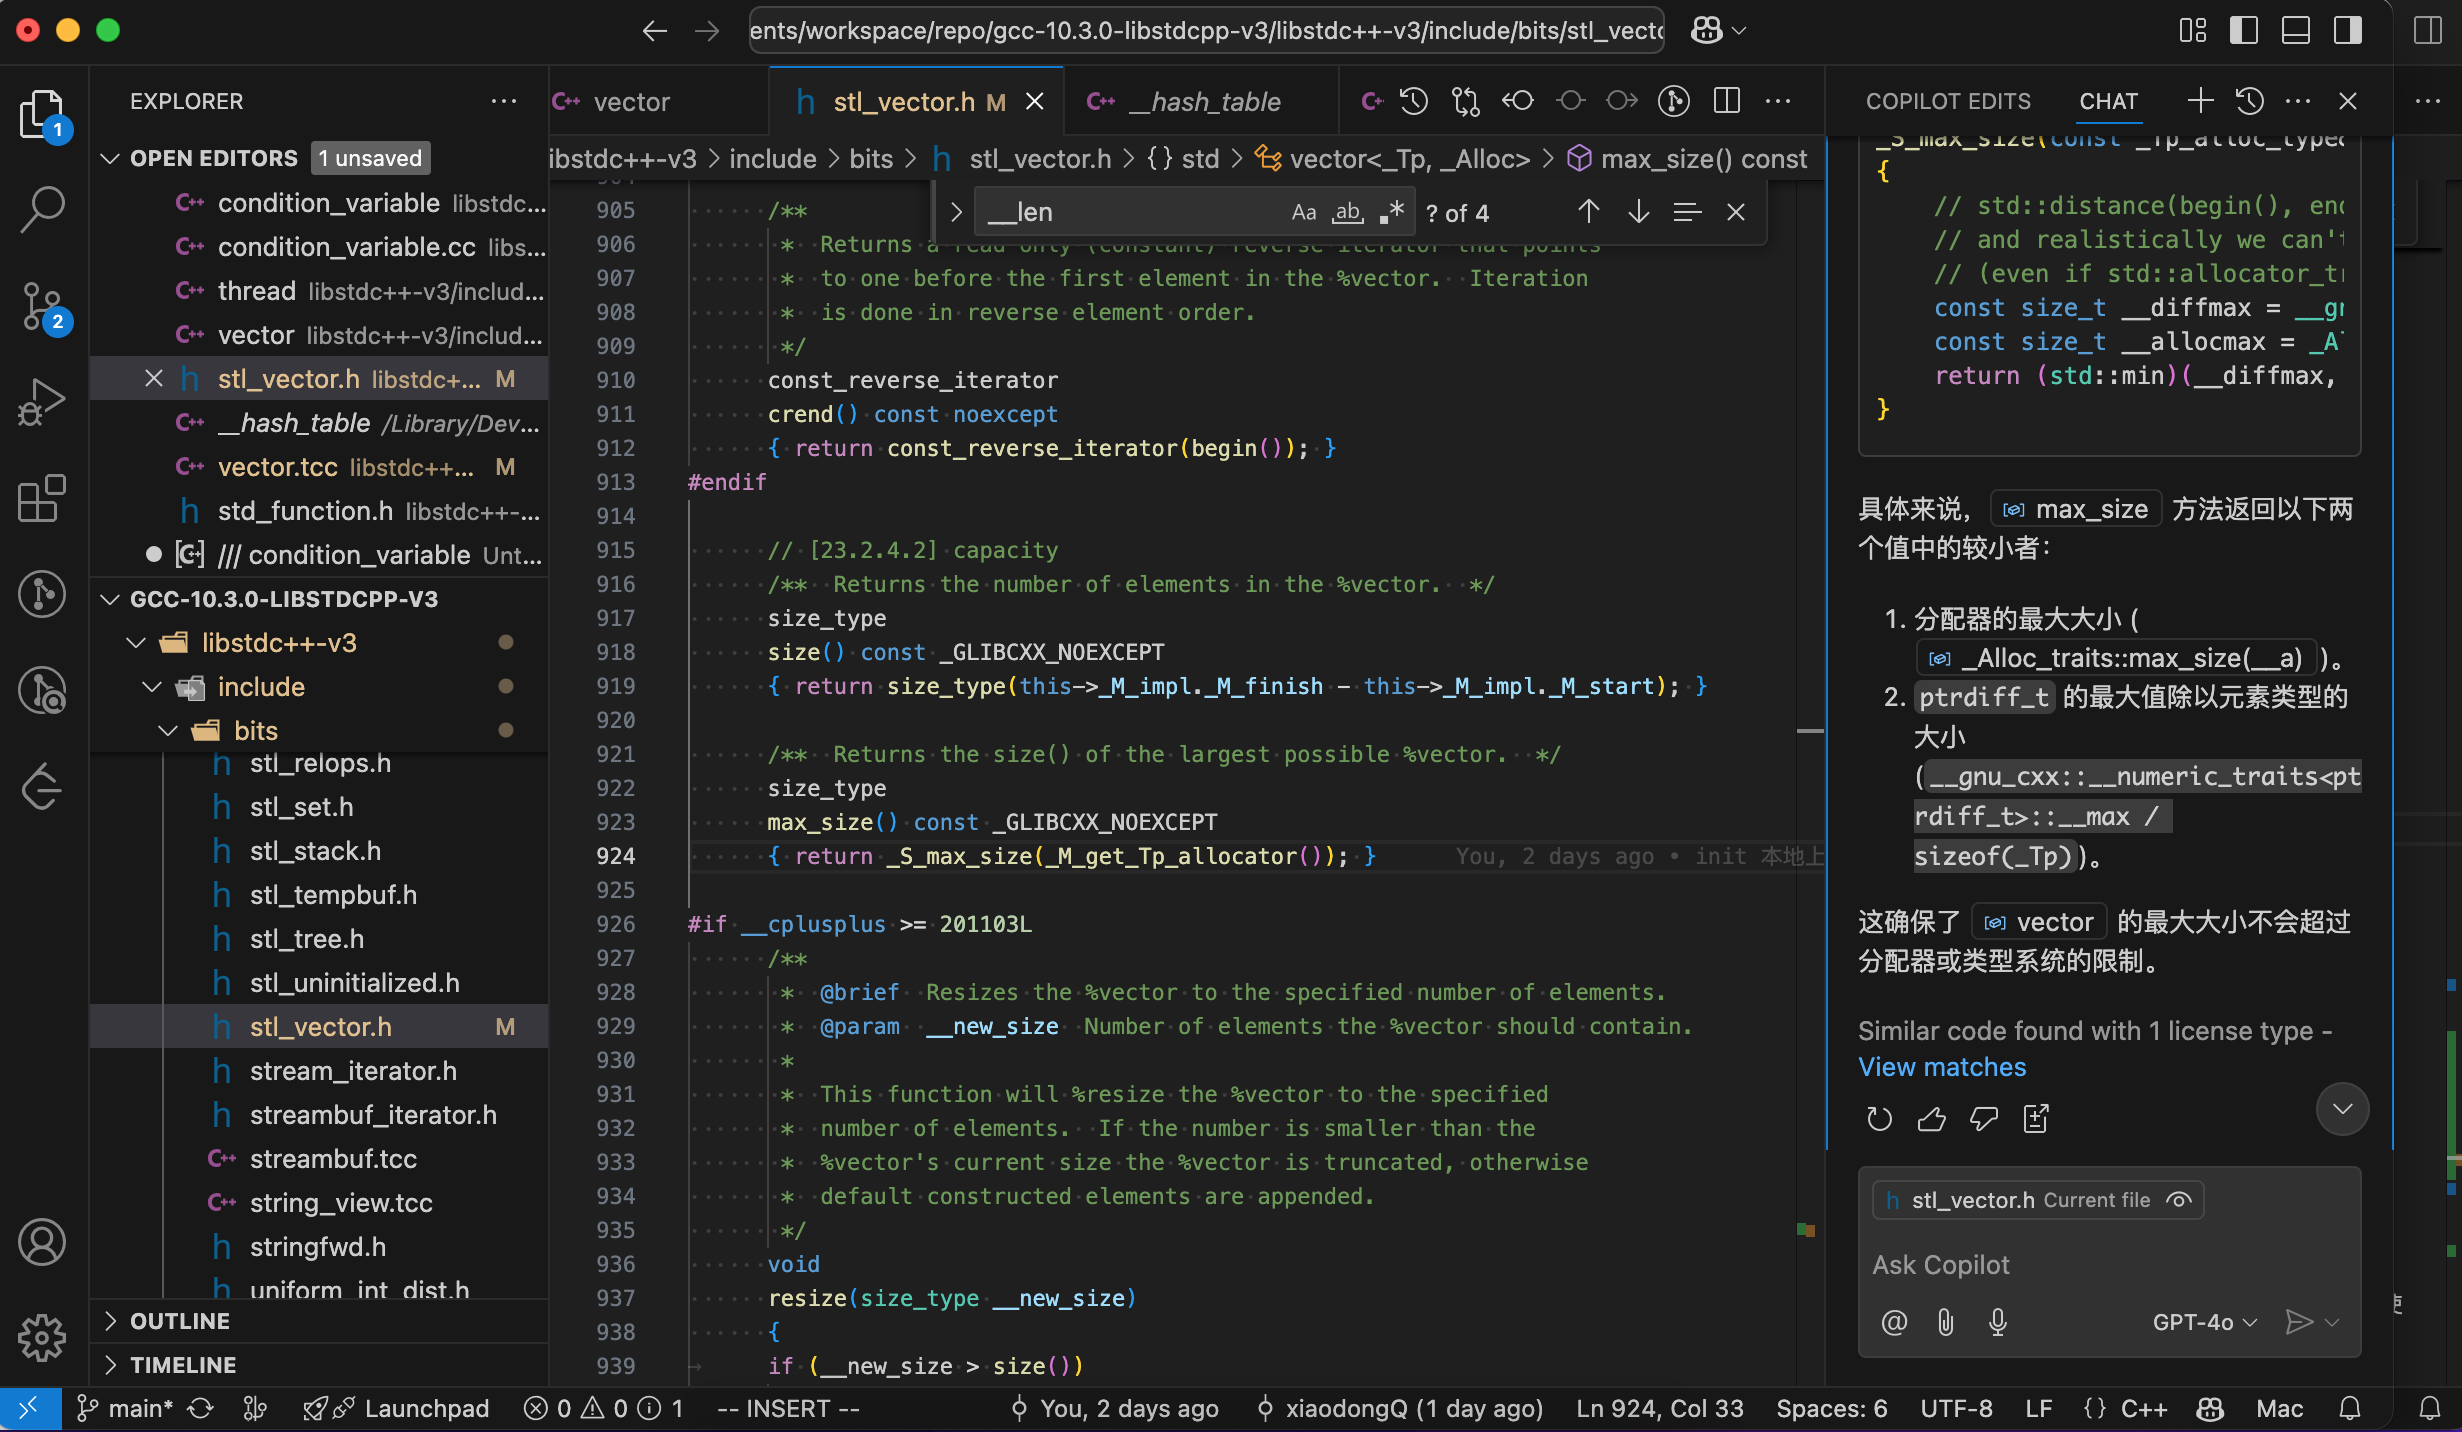
if (max_size() - size() < __n)
__throw_length_error(__N(__s));
// size() 是vector当前大小(注意是元素个数而不是指容量)
// 即 新的容量至少是当前大小的两倍,或者是当前大小加上需要插入的元素数量,以较大者为准。
const size_type __len = size() + (std::max)(size(), __n);
return (__len < size() || __len > max_size()) ? max_size() : __len;
}
结论:向vector插入元素时若空间不足触发扩容时,新的容量至少是当前大小的两倍,或者是当前大小加上需要插入的元素数量,以较大者为准。(当前大小指的是size()而不是capacity())
5. 利用优先级队列支持任务优先级
5.1. std::priority_queue 说明
std::priority_queue 和 std::queue 一样,都是STL里的容器适配器。
std::priority_queue提供了优先级队列,支持按优先级出队。
- 默认使用最大堆实现,最大元素优先级最高
- 底层容器是
std::vector<T> - 比较函数默认是
std::less<value_type>,要最小优先级则可用std::greater - 操作:
push(const value_type& __x),复杂度O(logn)pop(),复杂度O(logn)top(),复杂度O(1)
- 使用自定义类时,需要重载 比较运算符(如:
bool operator<(const T &t)) 或 实现仿函数(如:bool operator()(const T &a, const T &b))
其声明也在 stl_queue.h 头文件里,所以使用时要包含#include <queue>:
1
2
3
4
5
6
7
// libstdc++-v3/include/bits/stl_queue.h
template<typename _Tp, typename _Sequence = vector<_Tp>,
        typename _Compare  = less<typename _Sequence::value_type> >
class priority_queue
{
    ...
};
5.2. 线程池任务支持优先级
基于上面普通deque队列的线程池任务改造,可以用 元组(std::tuple) 或者 自定义一个任务类/结构体。
结构体相对来说后续调整会更灵活,tuple实现更简洁,此处用struct来定义任务,并重载operator<。
完整代码见:thread_pool_priority.cpp
任务由std::function<void()>修改为:在struct Task中组合std::function并加上优先级字段:
1
2
3
4
5
6
7
8
9
10
11
12
13
14
// 任务支持优先级处理
struct Task {
    std::function<void()> task;
    int priority;
    Task():priority(0) {}
    Task(int pri, std::function<void()> &&f) {
        priority = pri;
        task = std::move(f);
    }
    // const函数
    bool operator<(const Task &other) const {
        return priority < other.priority;
    }
};
线程池的任务队列则调整为priority_queue<Task>,且出队入队相应调整为pop、push:
1
2
3
4
5
6
7
8
9
10
11
12
13
14
15
16
class ThreadPool {
private:
    vector<thread> threads;
    priority_queue<Task> tasks;
    ...
}
// 任务加入线程池
void enqueue_task(int priority, std::function<void()> &&task) {
    {
        unique_lock<mutex> lk(task_mtx);
        // 使用移动语义以调用移动构造
        tasks.push({priority, std::move(task)});
    }

    task_cond.notify_one();
}
为了避免线程池同时取任务,把线程数改为1,同时避免任务太快任务处理中sleep 1秒。
下面结果可比较直观地看到优先顺序,先后取了2->1->0等级的任务
1
2
3
4
5
6
7
8
9
10
11
12
13
14
15
16
17
18
[CentOS-root@xdlinux ➜ thread_pool git:(main) ✗ ]$ ./a.out
tasks size:1, priority:0
start:0, end:1250000, chunk sum:2500000, total:2500000, done count:1, task:8
tasks size:7, priority:2
start:1250000, end:2500000, chunk sum:2500000, total:5000000, done count:2, task:8
tasks size:6, priority:2
start:8750000, end:10000000, chunk sum:2500000, total:7500000, done count:3, task:8
tasks size:5, priority:2
start:5000000, end:6250000, chunk sum:2500000, total:10000000, done count:4, task:8
tasks size:4, priority:1
start:6250000, end:7500000, chunk sum:2500000, total:12500000, done count:5, task:8
tasks size:3, priority:1
start:2500000, end:3750000, chunk sum:2500000, total:15000000, done count:6, task:8
tasks size:2, priority:0
start:3750000, end:5000000, chunk sum:2500000, total:17500000, done count:7, task:8
tasks size:1, priority:0
start:7500000, end:8750000, chunk sum:2500000, total:20000000, done count:8, task:8
result: 20000000
6. 异步编程
TODO
7. 小结
练习实现了基本的C++线程池和优先级队列,简单跟踪了一下libstdc++里的相关实现。
现代C++一直在迭代演进,跟其他的现代语言相比,基本都有类似特性和用法,比如之前看的Rust,可以借助C++17、20等新特性学习,进一步理解Rust的特性原理和使用。
最近DeepSeek开源的 3FS 存储系统,里面就用到很多C++新特性,比如协程(参考:DeepSeek 3FS 源码解读——协程&RDMA篇)。需要多接受新变化并利用好它们。