开源AI智能体编排系统:Multica 部署与使用
记录 Multica 自部署全过程,包括在线/离线安装、CLI 连接、daemon 配置等
1. 基本介绍
Multica 是一个托管式 Agent 平台,它聚焦于将 AI 编程智能体变成你团队中真正的”队友”。它的目标是解决 AI 编程中任务分配、执行追踪和经验沉淀的问题。Multica 管理完整的 Agent 生命周期:从任务分配到执行监控再到技能复用。
- 定位:AI 项目管理平台(Task Management)
- 粒度:项目 / 任务 / Agent / 技能
- 重点:编程 Agent 协作、任务生命周期、技能复用
- 场景:软件开发、工程任务、AI 辅助研发
对比 Paperclipai/paperclip,paperclip的定位是一个 AI 员工编排平台,其核心理念是帮助你建立一个由 AI 组成的”零人力公司”(zero-human company)。在这个系统中,你扮演”董事会”的角色,负责设定公司的顶层目标和战略,而具体的执行则交给 AI 员工团队。
- 定位:AI 公司操作系统(Orchestration)
- 粒度:公司 / 部门 / 角色 / 预算 / 治理
- 重点:目标驱动、组织化、成本可控、全链路自治
- 场景:跑产品、创业公司、全流程业务
默认情况下安装后,需要连接云端。也支持自部署(self-host),即在本地安装服务端。下面只操作自部署模式,云端模式见原始链接。
2. 在线安装
1、使用--with-server参数,即可同时安装server服务(基于容器),不加则只安装CLI。
1
2
3
4
5
6
7
8
9
10
11
12
13
14
[root@xdlinux ➜ ~ ]$ curl -fsSL https://raw.githubusercontent.com/multica-ai/multica/main/scripts/install.sh | bash -s -- --with-server

  Multica — Self-Host Installer
  Provisioning server infrastructure + installing CLI

✓ Docker is available
==> Setting up Multica server...
==> Using self-host assets from v0.2.28...
==> Cloning Multica repository...
Cloning into '/root/.multica/server'...
remote: Enumerating objects: 1747, done.
remote: Counting objects: 100% (1747/1747), done.
Compressing objects:  21% (370/1747), 7.04 MiB | 65.00 KiB/s
...
2、安装配置CLI,见下面的连接CLI小节
3. 离线安装(手动编译)
网络有点慢,直接GitHub上下载zip包,进行本地构建。
参考:self-host-quickstart,官网:Self-Hosting Guide
3.1. 编译本地产物
1
2
3
git clone https://github.com/multica-ai/multica.git
cd multica
make selfhost
make selfhost会从 GitHub Container Registry 拉取官方预编译的 backend + web 镜像并启动。
会进行:
- 如果没有 .env 文件,从 .env.example 自动生成一份并生成随机 JWT_SECRET
- 拉取官方 Docker 镜像(PostgreSQL、Multica backend、Multica frontend)
- 用
docker-compose.selfhost.yml启动全部服务 - 等后端
/health端点准备就绪
执行编译:
1
2
3
4
5
6
7
8
9
10
11
12
13
14
15
16
17
18
19
20
21
22
23
24
25
26
27
28
29
30
[root@xdlinux ➜ multica-main ]$ make selfhost
==> Pulling official Multica images...
[+] pull 3/11
 ✔ Image ghcr.io/multica-ai/multica-backend:latest Pulled                 32.2s
 ✔ Image ghcr.io/multica-ai/multica-web:latest     Pulled                 99.6s
 ✔ Image pgvector/pgvector:pg17                    Pulled                  1.3s
==> Starting Multica via Docker Compose...
docker compose -f docker-compose.selfhost.yml up -d
[+] up 6/6
 ✔ Network multica_default        Created                                  0.1s
 ✔ Volume multica_backend_uploads Created                                  0.0s
 ✔ Volume multica_pgdata          Created                                  0.0s
 ✔ Container multica-postgres-1   Healthy                                  6.1s
 ✔ Container multica-backend-1    Started                                  5.9s
 ✔ Container multica-frontend-1   Started                                  6.0s
==> Waiting for backend to be ready...

✓ Multica is running!
  Frontend: http://localhost:3000
  Backend:  http://localhost:8080

Images: ghcr.io/multica-ai/multica-backend:latest
        ghcr.io/multica-ai/multica-web:latest

Log in: configure RESEND_API_KEY in .env for email codes,
        or read the generated code from backend logs when Resend is unset.

Next — install the CLI and connect your machine:
  brew install multica-ai/tap/multica
  multica setup self-host
可能碰到的问题:网络原因,拉取镜像可能会比较慢
1
2
3
#  ✔ Image pgvector/pgvector:pg17                            Pulled          1002.6s
#  ✔ Image ghcr.io/multica-ai/multica-backend:latest         Pulled           386.5s
#  ⠹ Image ghcr.io/multica-ai/multica-web:latest [⣿⣿⣿⣿⣄⣿⣿⣿⣿] 63.96MB / 93.11MB Pulling   1353.3s
这里说明下make selfhost-build的操作(上面能通则不用考虑此处)
1
2
3
4
5
6
7
8
9
# make selfhost-build 会从当前代码构建(推荐开发/自托管)
  # 这会:
  # 1. 从当前 checkout 构建 server/ Go 代码
  # 2. 构建 Next.js 前端
  # 3. 通过 Docker Compose 启动完整栈(PostgreSQL + backend + web)
# make selfhost-build 实际执行的是:
  # docker compose -f docker-compose.selfhost.yml -f docker-compose.selfhost.build.yml up -d --build
  # 前者 docker-compose.selfhost.yml 定义 postgres + backend + frontend 三个服务
  # 后者 docker-compose.selfhost.build.yml 覆盖 backend 和 frontend 的 image 字段,改指向本地 multica-backend:dev 和 multica-web:dev,并用本地 Dockerfile / Dockerfile.web build
3.2. 编译后服务说明
make selfhost编译完成后可看到容器:
1
2
3
4
5
[root@xdlinux ➜ ~ ]$ docker ps
CONTAINER ID   IMAGE                                       COMMAND                  CREATED        STATUS                  PORTS                                         NAMES
dd250592feb2   ghcr.io/multica-ai/multica-web:latest       "docker-entrypoint.s…"   16 hours ago   Up 16 hours             0.0.0.0:3000->3000/tcp, [::]:3000->3000/tcp   multica-frontend-1
cdb3f46c617e   ghcr.io/multica-ai/multica-backend:latest   "./entrypoint.sh"        16 hours ago   Up 16 hours             0.0.0.0:8080->8080/tcp, [::]:8080->8080/tcp   multica-backend-1
4f20bb5cd90c   pgvector/pgvector:pg17                      "docker-entrypoint.s…"   16 hours ago   Up 16 hours (healthy)   0.0.0.0:5432->5432/tcp, [::]:5432->5432/tcp   multica-postgres-1
从上面make selfhost最后的输出也可以看到:
- 前端:http://localhost:3000
- 后端:http://localhost:8080
4. 解决离线验证码获取问题
登录http://192.168.1.150:3000后(此处改成了我安装server的地址),会提示输入邮箱获取验证码。
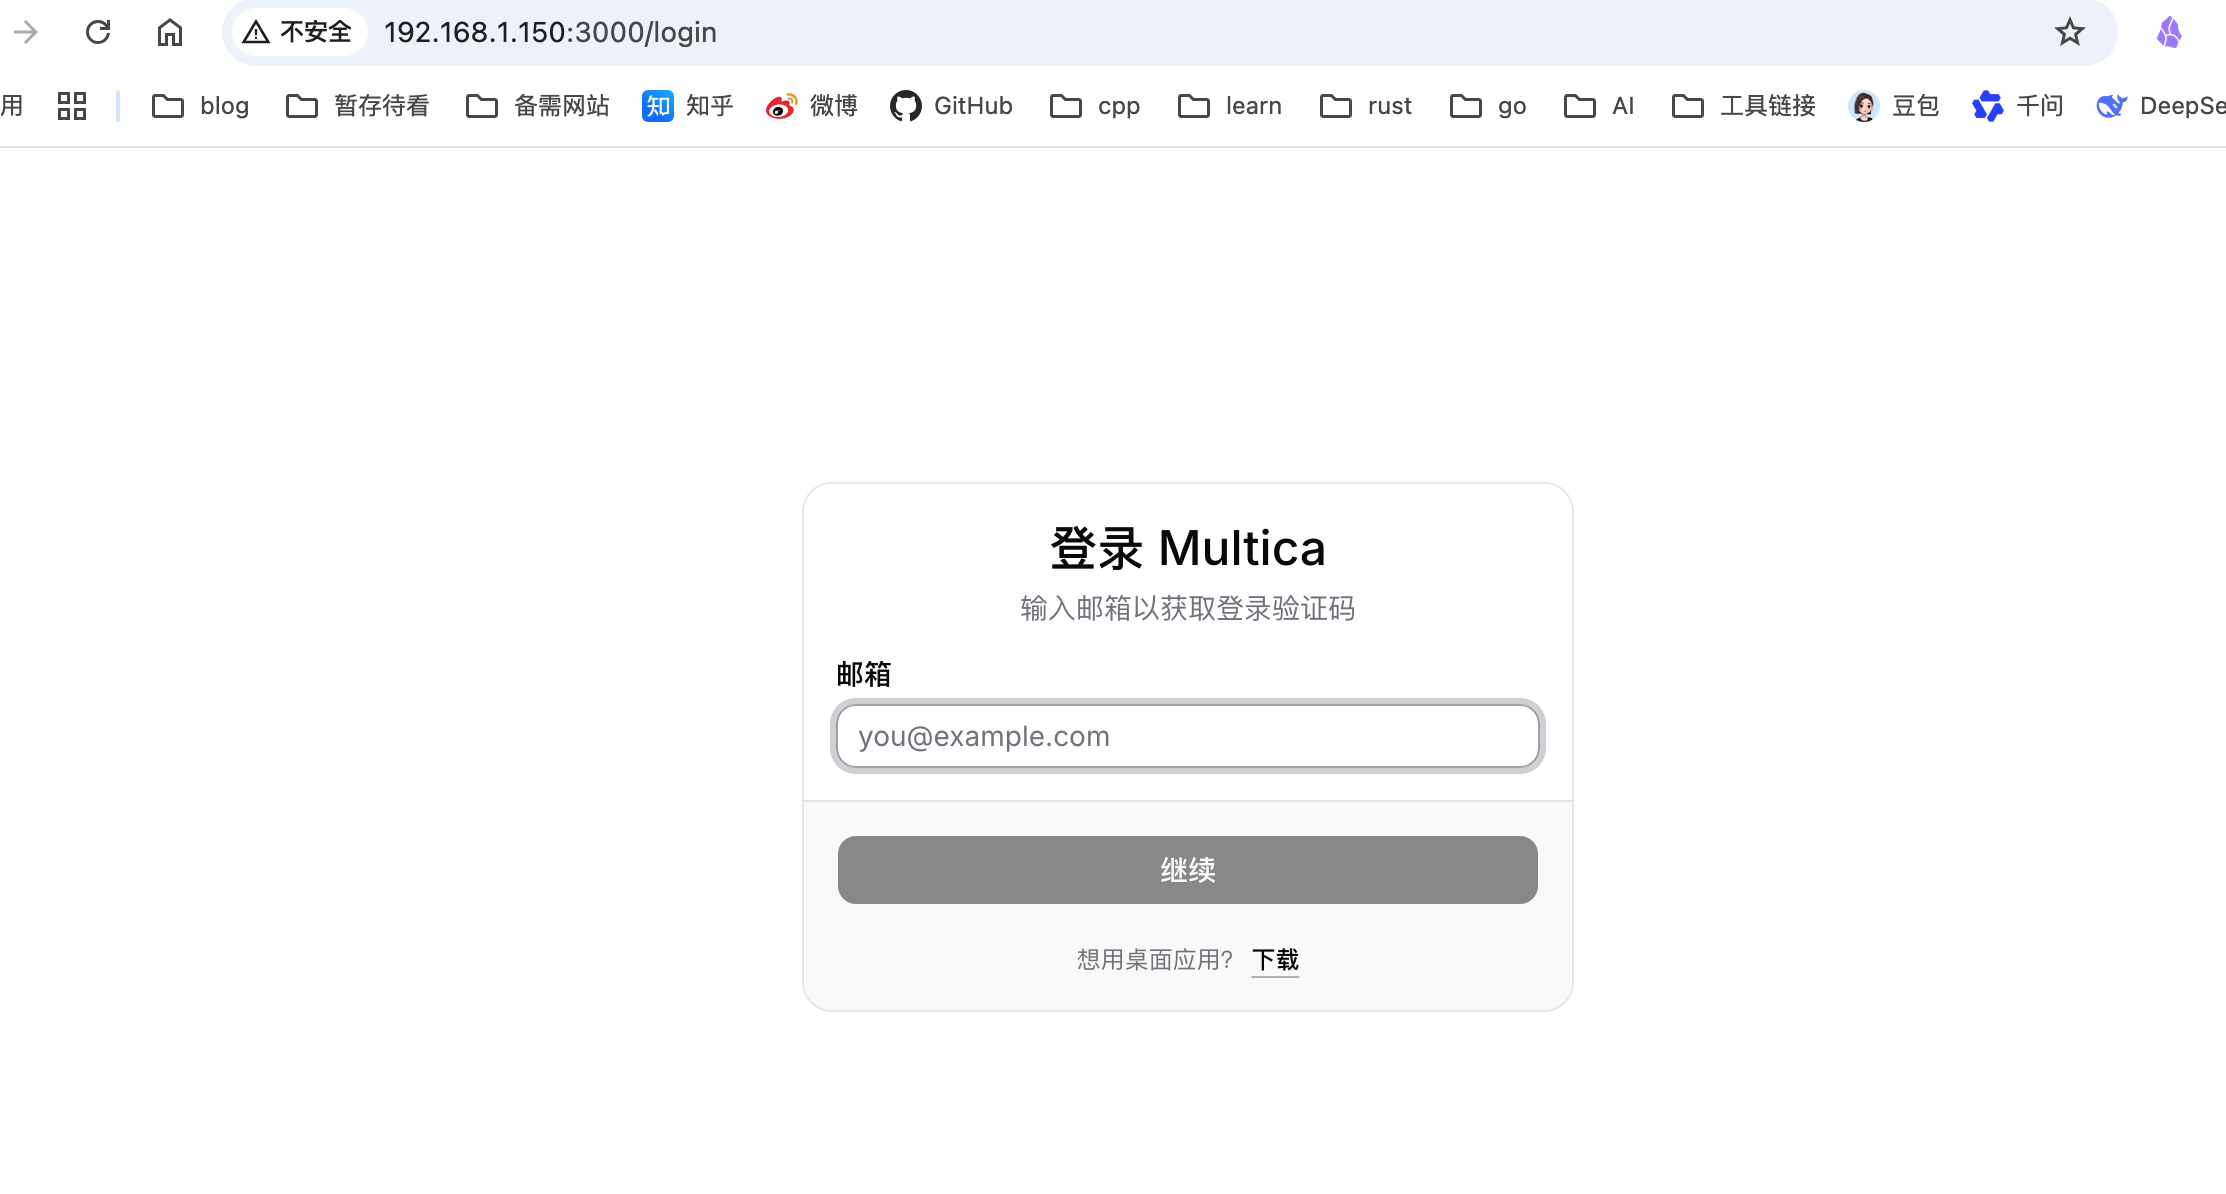
若网络不通,有2种方式,可以指定环境变量后,在日志里找到验证码。操作如下:
1
2
3
4
5
6
7
8
9
10
11
12
13
14
15
16
17
18
19
20
21
22
23
24
离线自建(make selfhost)不走邮件的话,验证码会打印到后端容器日志里。

  方式一、获取验证码的步骤

  1. 启动服务
   make selfhost
  2. 打开登录页 → 输入邮箱后不要去邮箱里找验证码
  3. 查后端容器日志
  docker compose -f docker-compose.selfhost.yml logs backend

  找到这一行:
  [DEV] Verification code for xxx@example.com: 123456
  就是这个 6 位数字。

  ---

  方式二、如果你想每次用固定验证码(方便本地反复登录)

  编辑 .env:(代码目录)
  APP_ENV=development
  MULTICA_DEV_VERIFICATION_CODE=888888

  然后 docker compose -f docker-compose.selfhost.yml restart backend,之后所有邮箱都用 888888 登录。
  ▎ ⚠️  这条规则仅对本地/私有实例生效——APP_ENV=production 时这个变量会被忽略。
实际操作,方式二,固定888888:
1、修改.env,此处我的目录文件是 /home/workspace/repo/multica-main/.env:APP_ENV和MULTICA_DEV_VERIFICATION_CODE原来都是=空:
1
2
3
4
5
6
7
8
9
# APP_ENV gates production safety checks. Docker self-host pins APP_ENV to
# "production" by default. Local dev can leave it unset.
# See SELF_HOSTING.md for the full login setup.
APP_ENV=development
# Optional local/testing shortcut. Empty by default, so there is no fixed
# verification code. Without RESEND_API_KEY, generated codes print to stdout.
# If you need deterministic local automation, set a 6-digit value such as
# 888888 and keep APP_ENV non-production. This is ignored when APP_ENV=production.
MULTICA_DEV_VERIFICATION_CODE=888888
2、重启server端,docker compose -f docker-compose.selfhost.yml restart backend
1
2
3
docker compose -f docker-compose.selfhost.yml restart backend
[+] restart 0/1
 ⠸ Container multica-backend-1 Restarting                                                                               0.4s
3、这里随便输入邮箱后,查看日志:docker compose -f docker-compose.selfhost.yml logs backend
可看到验证码:
1
backend-1  | [DEV] Verification code for test@gmail.com: 579880
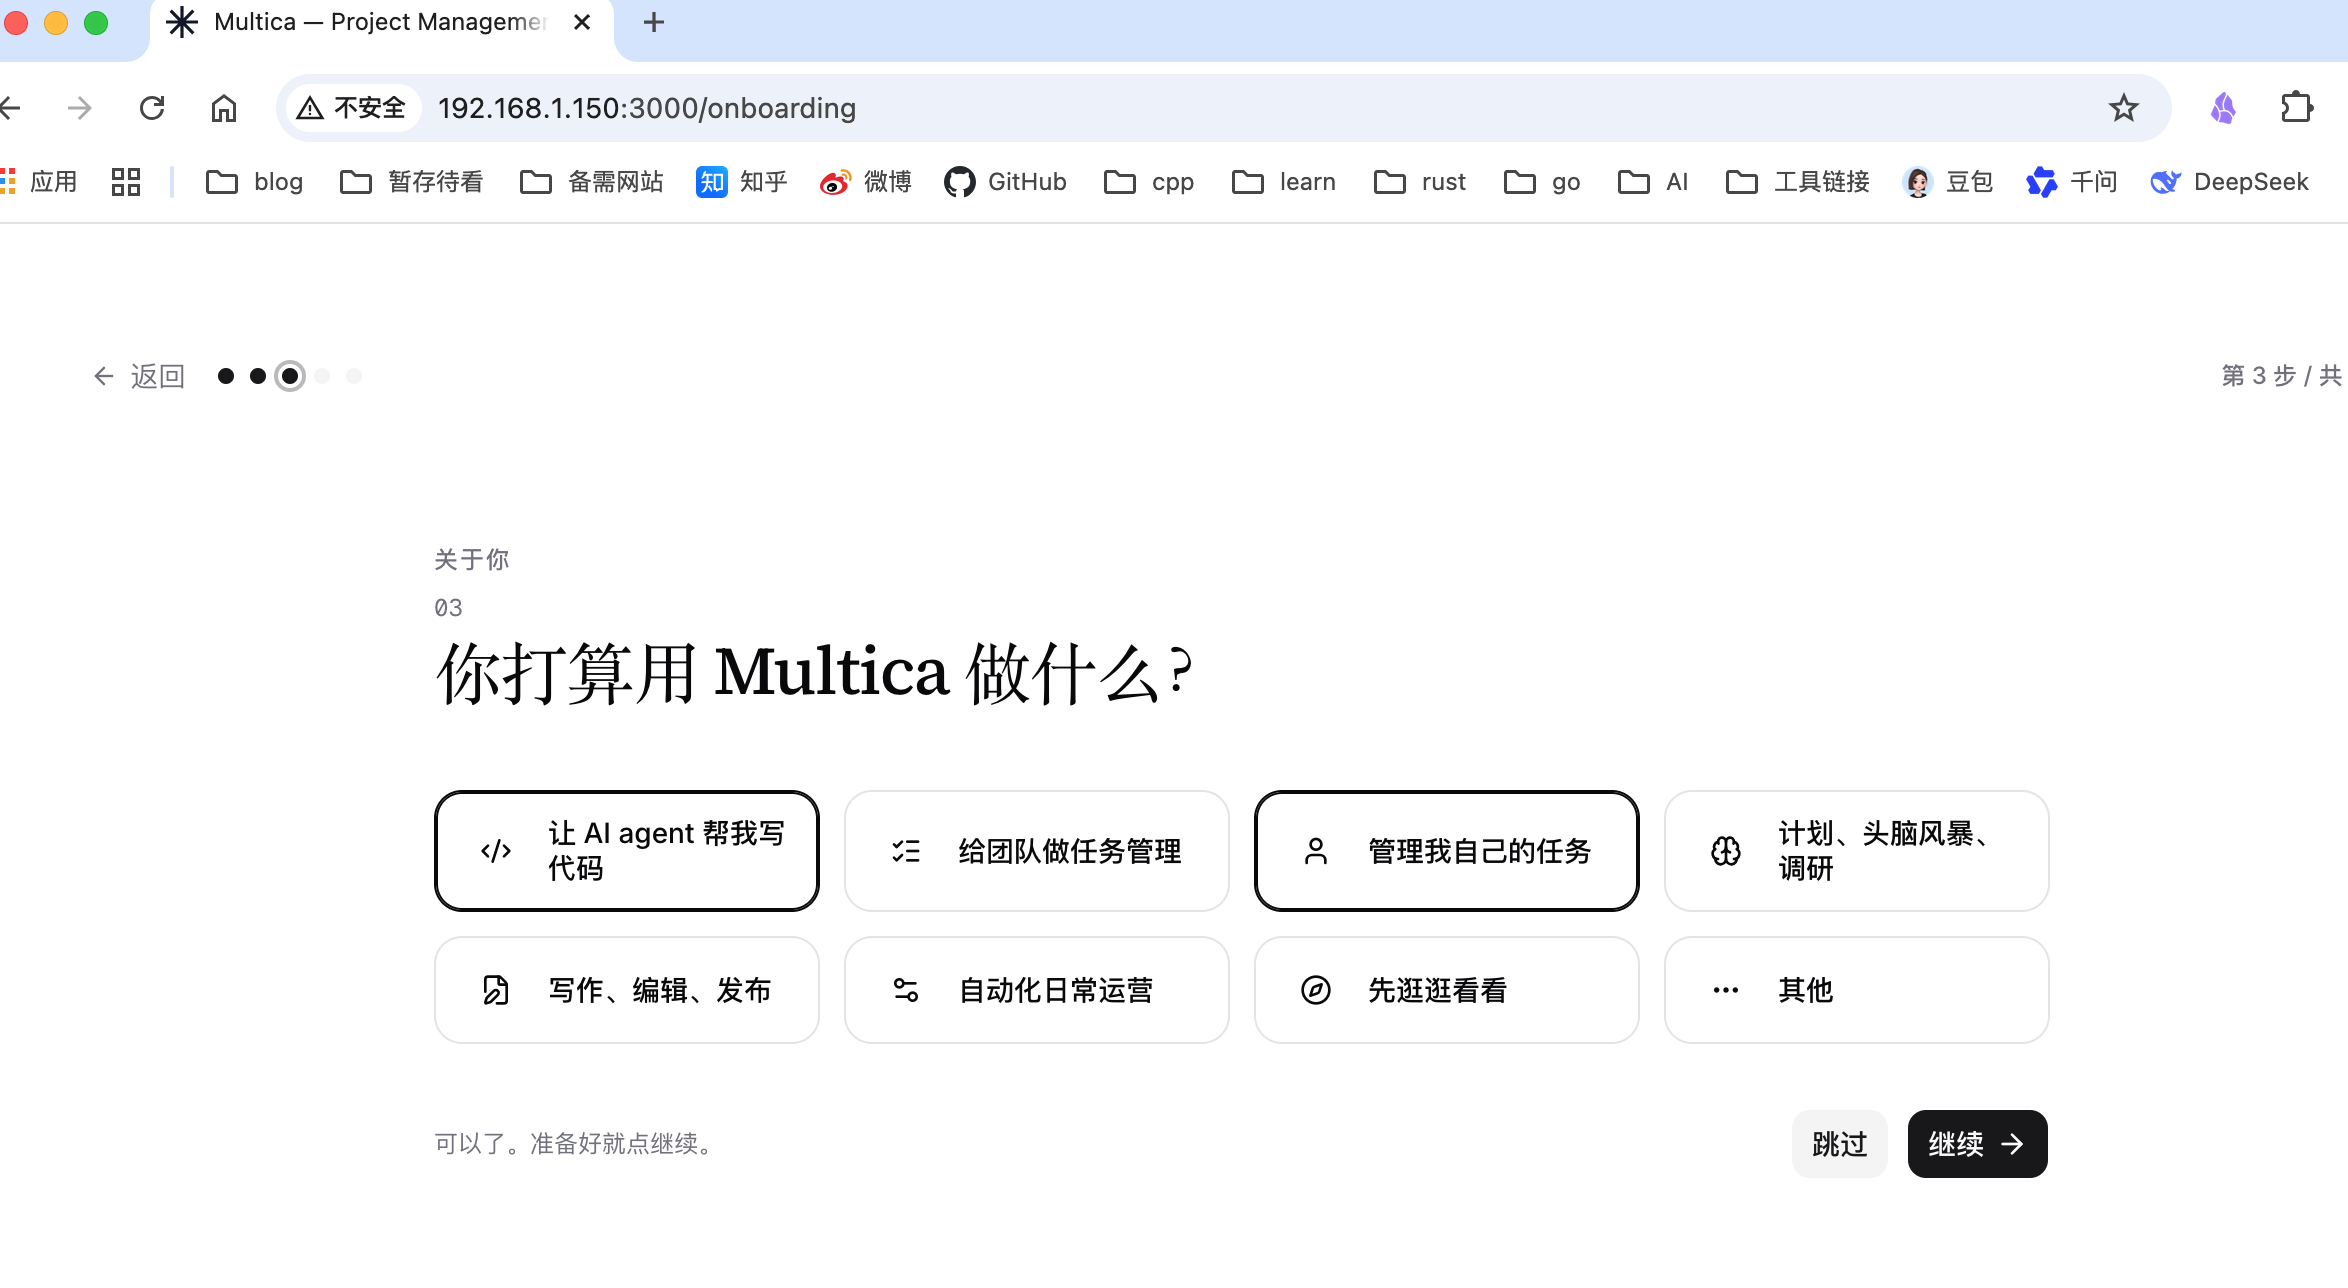
5. 页面初始化
6. 连接CLI(任务执行机)到服务端,并启动daemon
CLI是指Claude Code、Codex等AI智能体,负责从multica获取任务并执行。
需要先在执行机器(不一定是上面安装multica的机器,可以是其他服务器)上安装daemon,它负责探测该服务器上安装的AI Agent,并将其注册到服务端,agent被分配任务时负责执行任务。
本地实验时,CLI和multica在同一台,此处直接multica setup self-host。
http://localhost:3000/login?cli_callback=http%3A%2F%2Flocalhost%3A43751%2Fcallback&cli_state=07be025316b939f5655863aa6a36d03a改成192.168.1.150,出来的授权url再改成192.168.1.150,到远程服务器curl执行即可授权成功。
1
2
3
4
5
6
7
8
9
10
11
12
13
14
15
16
17
18
19
20
21
22
23
24
25
26
27
28
29
[root@xdlinux ➜ multica-main ]$ multica setup self-host
Current configuration:
  server_url: http://localhost:8080
  app_url:    http://localhost:3000

This will reset your configuration. Continue? [y/N] y
Configured for self-hosted server.
  server_url: http://localhost:8080
  app_url:    http://localhost:3000
  config:     /root/.multica/config.json

Opening browser to authenticate...
If the browser didn't open, visit:
  http://localhost:3000/login?cli_callback=http%3A%2F%2Flocalhost%3A43751%2Fcallback&cli_state=07be025316b939f5655863aa6a36d03a

Waiting for authentication...
Authenticated as xiaodong0795 (xiaodong0795@gmail.com)
Token saved to config.

Found 1 workspace(s):
  • xd的工作区 (c29ac859-3d9f-4113-bafb-c43a9f26b742)

→ Run 'multica daemon start' to start your local agent runtime.

Starting daemon...
Daemon started (pid 2077248, version 0.2.27)
Logs: /root/.multica/daemon.log

✓ Setup complete! Your machine is now connected to Multica.
multica daemon status查看deamon状态。
1
2
3
4
[root@xdlinux ➜ multica-main ]$ multica daemon status
Daemon:      running (pid 2.077248e+06, uptime 2m22s)
Agents:      claude, codex, openclaw
Workspaces:  1
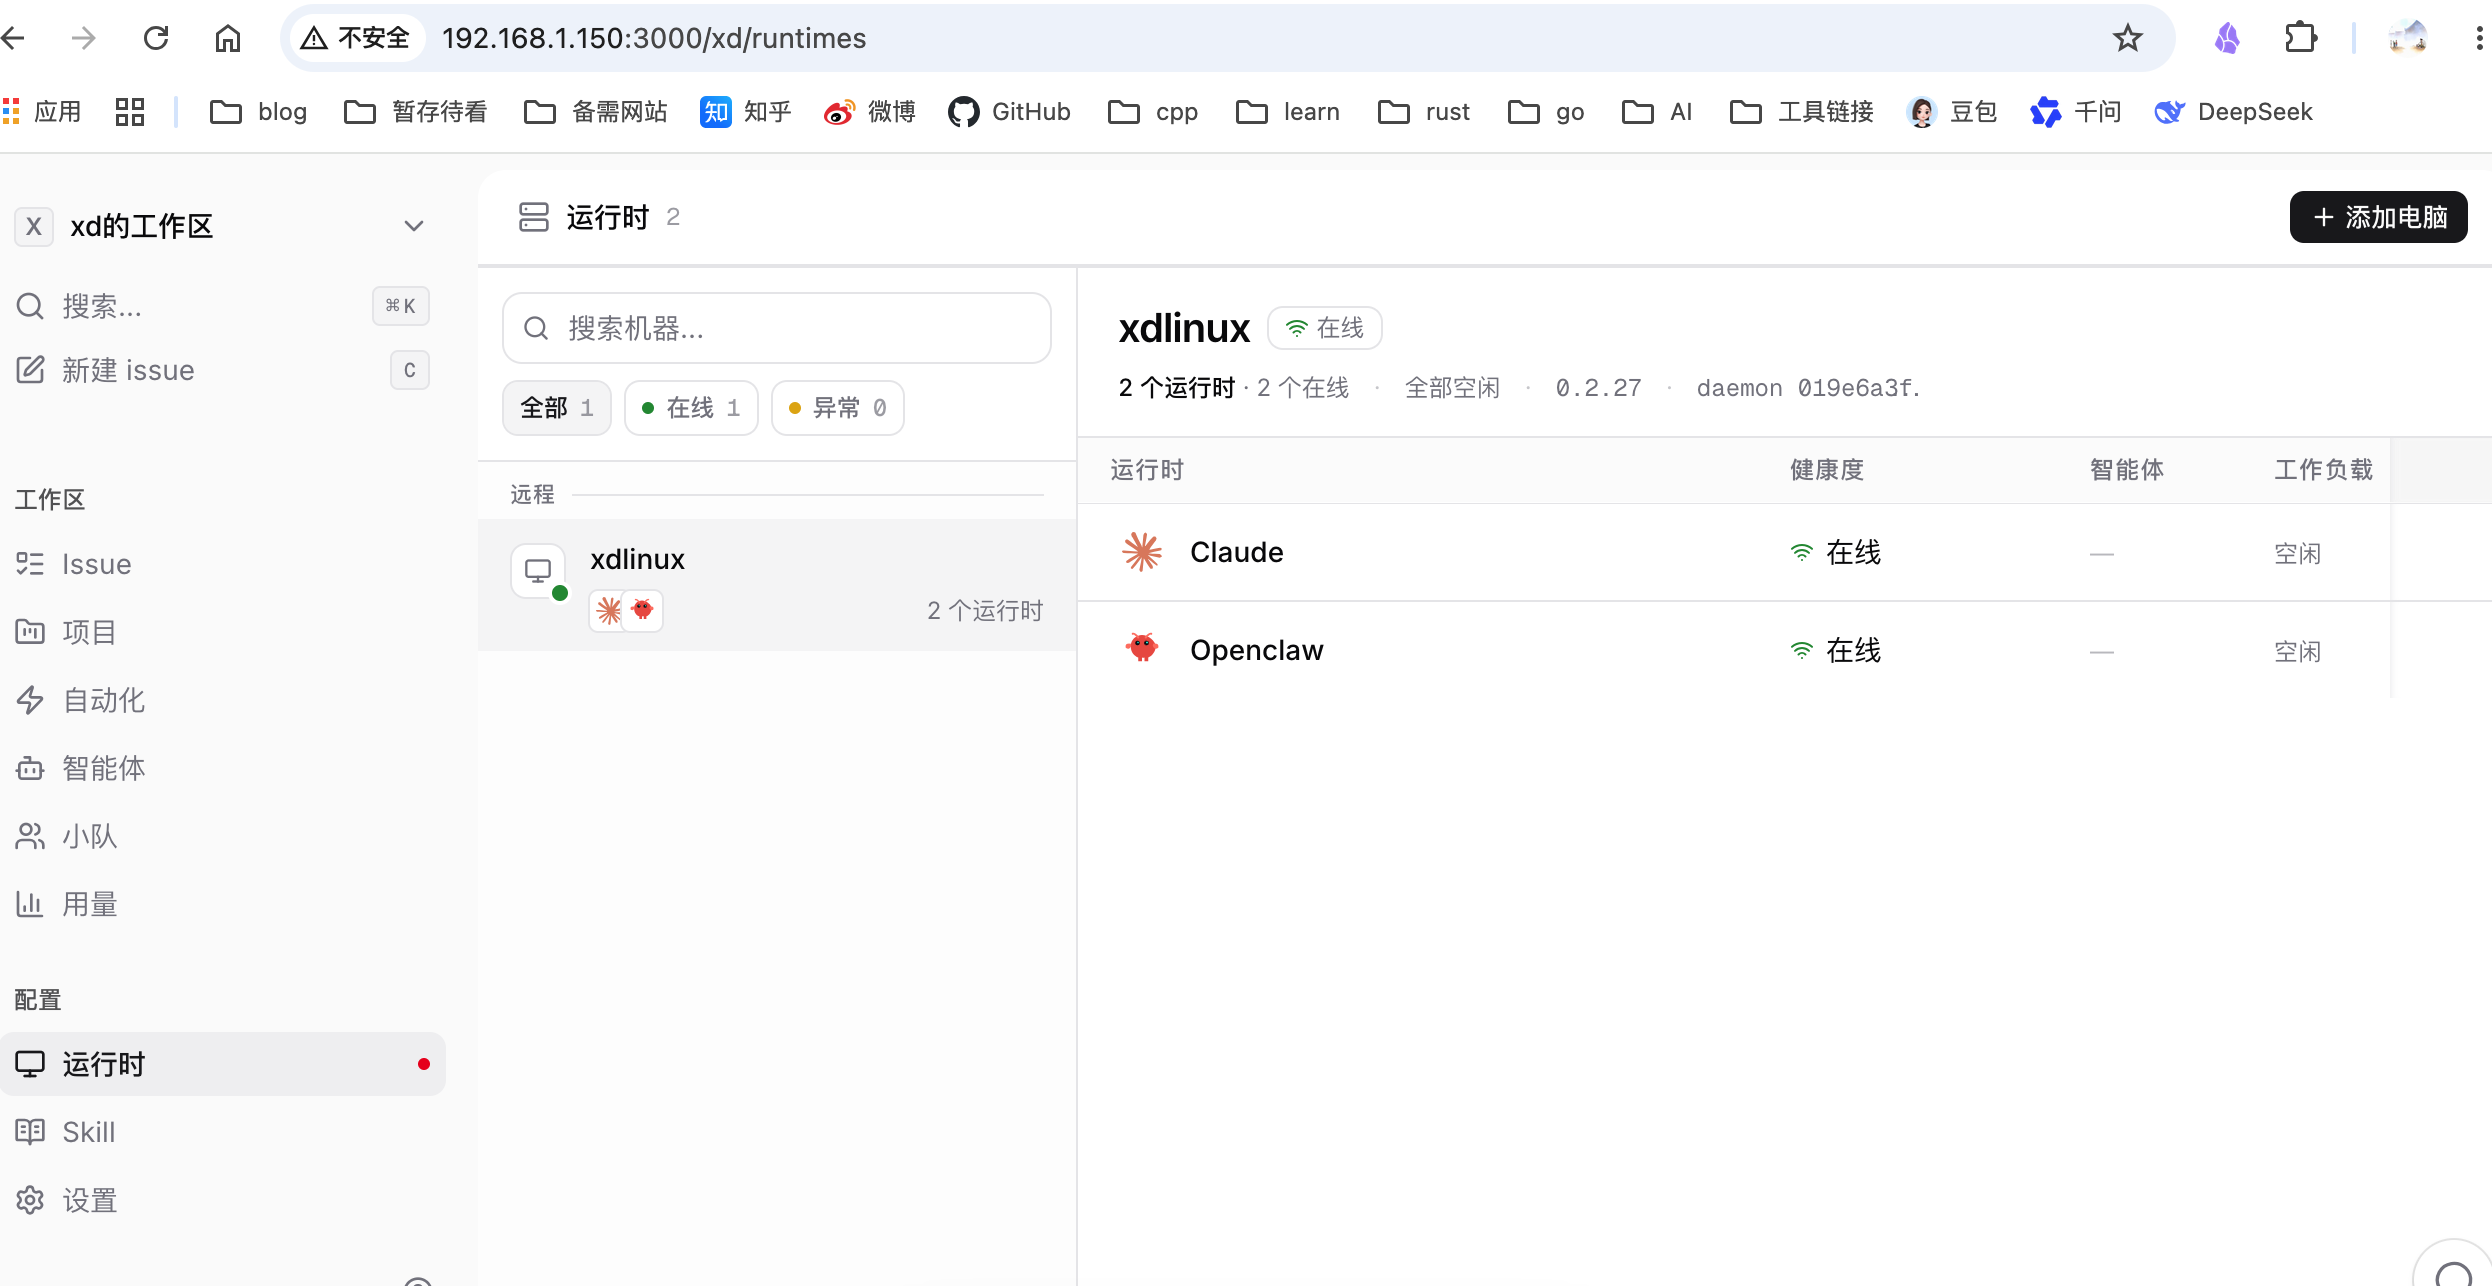
连接成功,可看到这台执行机了:
6.1. 非浏览器方式
1
2
3
4
multica config set server_url http://localhost:8080
multica config set app_url http://localhost:3000
multica login --token mul_c30fc5eea6d52e88f15ba0a4b917489e7ea6855c
multica daemon start
1
2
3
4
5
6
7
8
9
10
11
12
13
14
15
16
17
18
19
20
# 设置本地地址
[clauded@xdlinux ~]$ multica config set server_url http://localhost:8080
Set server_url = http://localhost:8080
[clauded@xdlinux ~]$ multica config set app_url http://localhost:3000
Set app_url = http://localhost:3000

# 用api登录
[clauded@xdlinux ~]$ multica login --token mul_c30fc5eea6d52e88f15ba0a4b917489e7ea6855c
Authenticated as xiaodong0795 (xiaodong0795@gmail.com)
Token saved to config.

Found 1 workspace(s):
  • xd的工作区 (c29ac859-3d9f-4113-bafb-c43a9f26b742)

→ Run 'multica daemon start' to start your local agent runtime.

# 启动daemon
[clauded@xdlinux ~]$ multica daemon start
Daemon started (pid 2352579, version 0.2.27)
Logs: /home/clauded/.multica/daemon.log
7. 使用
7.1. 配置飞书CLI进行机器人通知
之前的root用户下,OpenClaw已经初始化过飞书cli了,现在切换了新用户clauded(原因见下面问题描述),需要手动初始化一下。
步骤:
- 1、
lark-cli config init --new会自动创建一个机器人和开通消息权限,点击链接或者扫描授权 - 2、
lark-cli auth login机器上进行登录,上一步还不够,这步会将用户写回到本地的配置文件里 - 3、
lark-cli config show查看
1
2
3
4
5
6
7
8
9
10
11
12
13
14
15
16
17
18
19
20
21
22
23
24
25
26
27
28
29
30
31
32
33
34
35
36
[clauded@xdlinux ~]$ lark-cli config init --new

使用飞书 / Lark 扫码配置应用:
。。。
或打开以下链接完成配置:
  https://open.feishu.cn/page/cli?user_code=HLBZ-KVxx&lpv=1.0.29&ocv=1.0.29&from=cli

正在获取你的应用配置结果...

OK: 应用配置成功! App ID: cli_aaafe65f07f89bd1
{
  "appId": "cli_aaafe65f07f89bd1",
  "appSecret": "****",
  "brand": "feishu"
}

[clauded@xdlinux ~]$ lark-cli auth login

摘要:
  域:       im
  权限:     常用权限
  Scopes (14): contact:user.base:readonly, contact:user.basic_profile:readonly, im:chat.members:read, ...
在浏览器中打开以下链接进行认证:
...

# users里有用户就可以了
[clauded@xdlinux ~]$ lark-cli config show
{
  "appId": "cli_aaafe65f07f89bd1",
  "appSecret": "****",
  "brand": "feishu",
  "lang": "zh",
  "profile": "cli_aaafe65f07f89bd1",
  "users": "飞书用户7170NK (ou_fcf873d86f2fbc3817fabxxxxxxxx)",
  "workspace": "local"
}
8. 问题
8.1. Claude Code无法在root用户下以--dangerously-skip-permissions方式启动执行
解决方式:创建一个新用户,并配置root权限,vim /etc/sudoers,增加:clauded ALL=(ALL) NOPASSWD: ALL
/tmp目录权限问题,报错:EACCES: permission denied, mkdir '/tmp/claude-1000/-home-clauded-multica-workspaces-c29ac859-3d9f-4113-bafb-c43a9f26b742-48e94121-workdir/0a558058-31cb-4502-a433-c859ae8bf4f1/tasks'
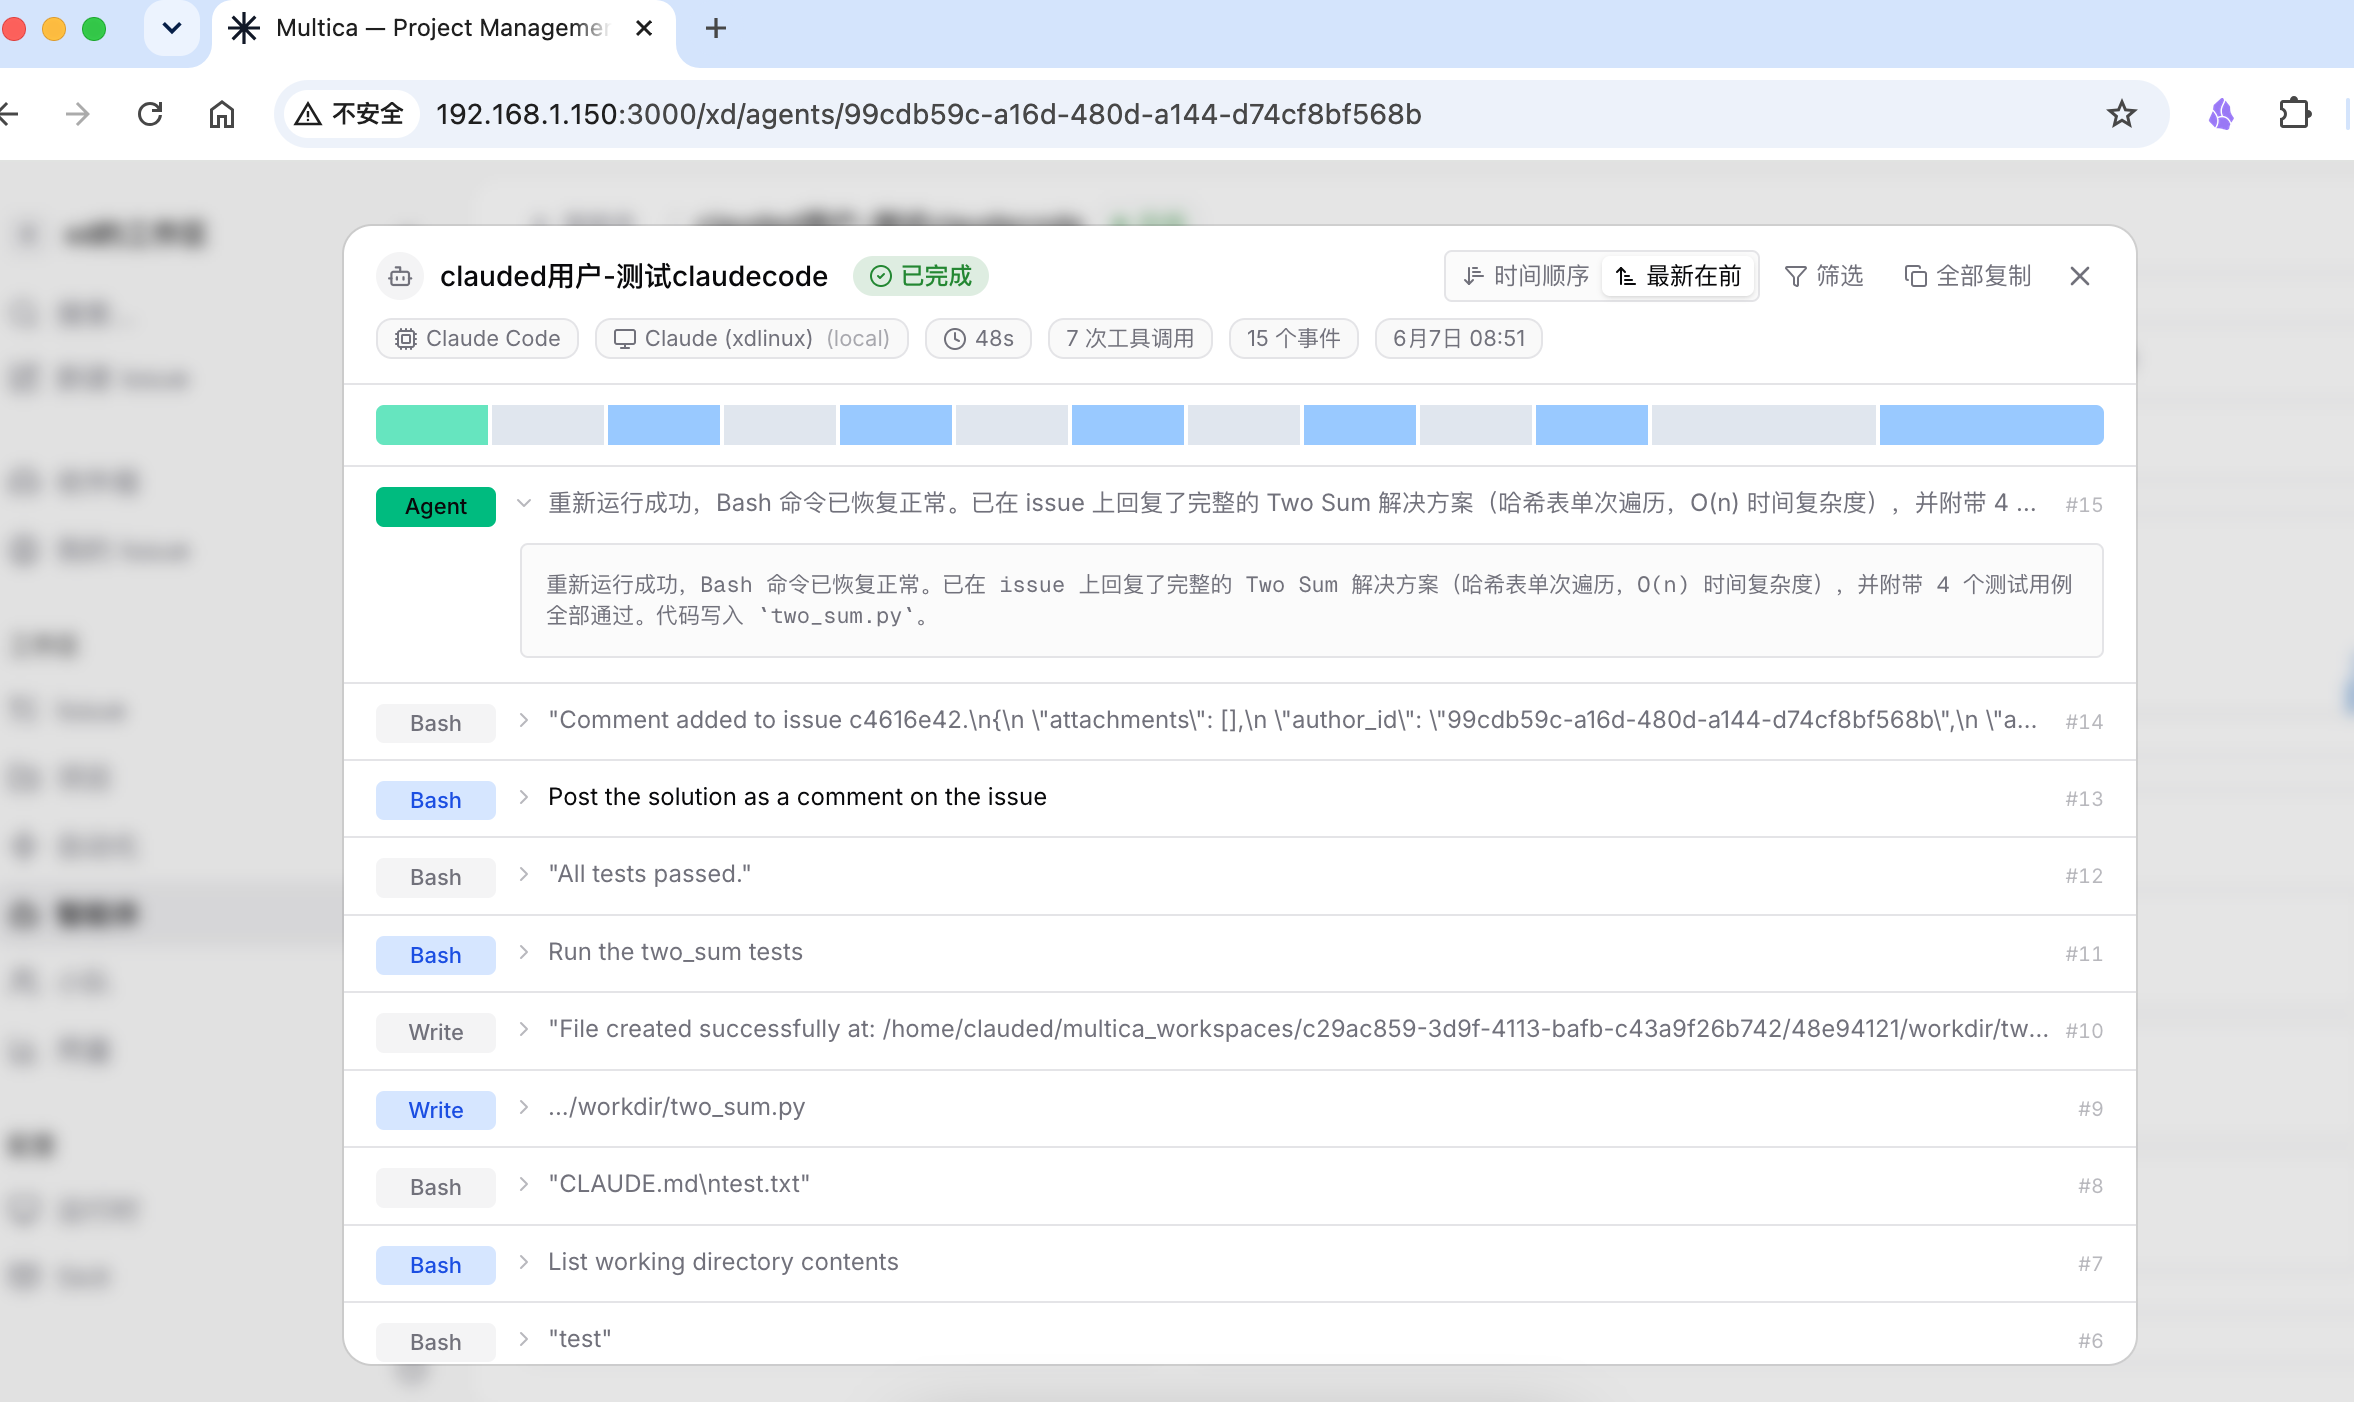
开启其他用户的访问权限后,任务正常: